Cash Drawer Purchase and Setup Instructions
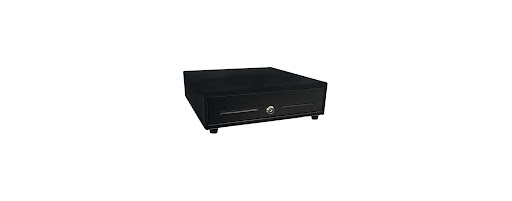
Star Micronics CD3-1313 4 Bill / 5 Coin Value Series Mini Cash Drawer with 2 Media Slots and Included Cable (13" x 13")
- Make sure that your cash drawer choice can receive a signal to "open the drawer".
- Connect your cash drawer to your printer. Make sure that your cable is plugged in correctly. Look for labels indicating which end plugs into the cash drawer and which end plugs into the printer.
- Your printer will signal your cash drawer to open when the Receipt button is clicked on the Check Out page of your USchedule software. You may need to access your printer settings to configure this secondary action to open your cash drawer.
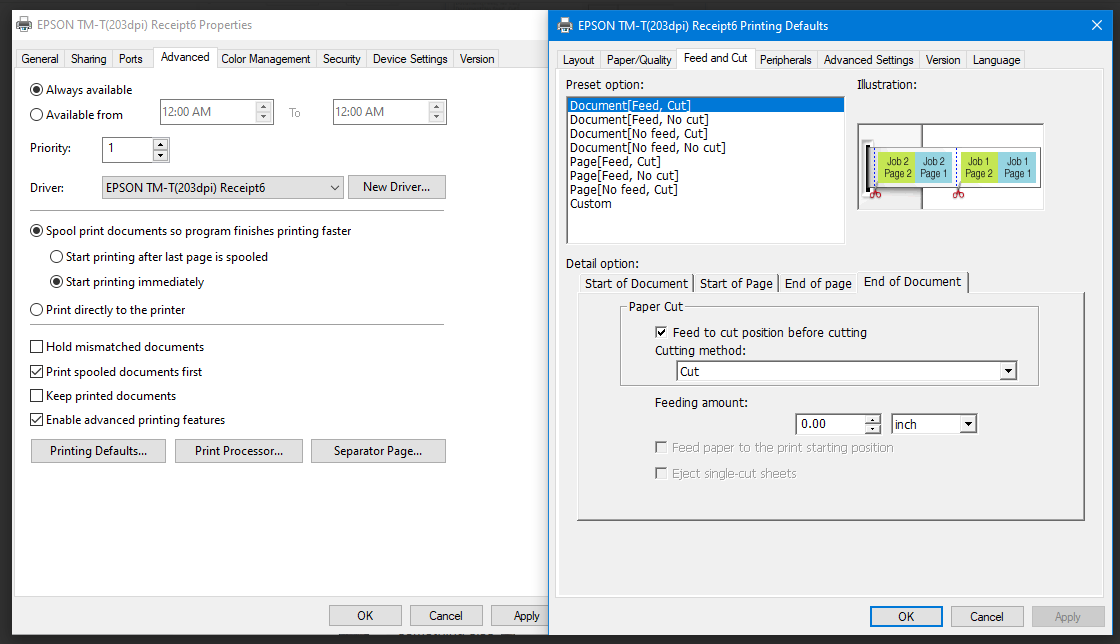
Below are example printer properties that you will need to apply. Please note that your specific printer may be different. Note—the first screenshot shows how to set up your "cut" parameters after the receipt has finished printing. The second screenshot shows a different printer set up page. Please refer to your manual for specific details for the printer model you are working with.
The following screenshot shows Cash Drawer settings found in your printer set up page. Note that you can choose Open or Do Not Open.
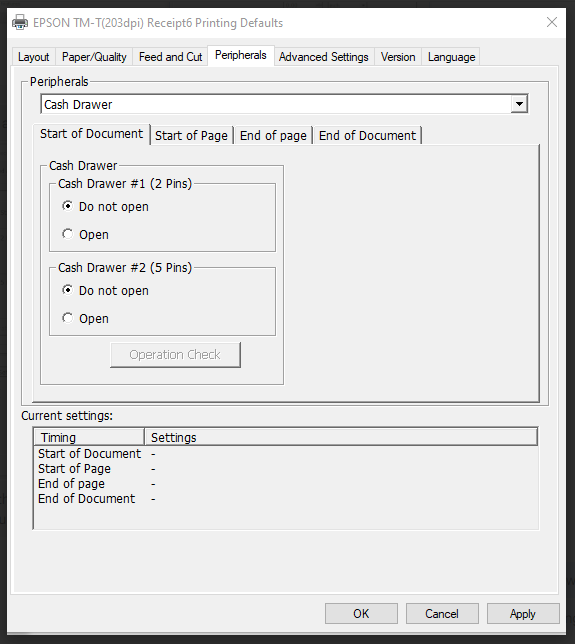
Please note that these are general guidelines. Each printer model may have different options. These instructions do not apply to Epson Printers purchased through USchedule.
Once you have completed your set up, be sure to test your Print Receipt button in conjunction with your Open Cash Drawer function.