How to Set Up a Product/Storefront
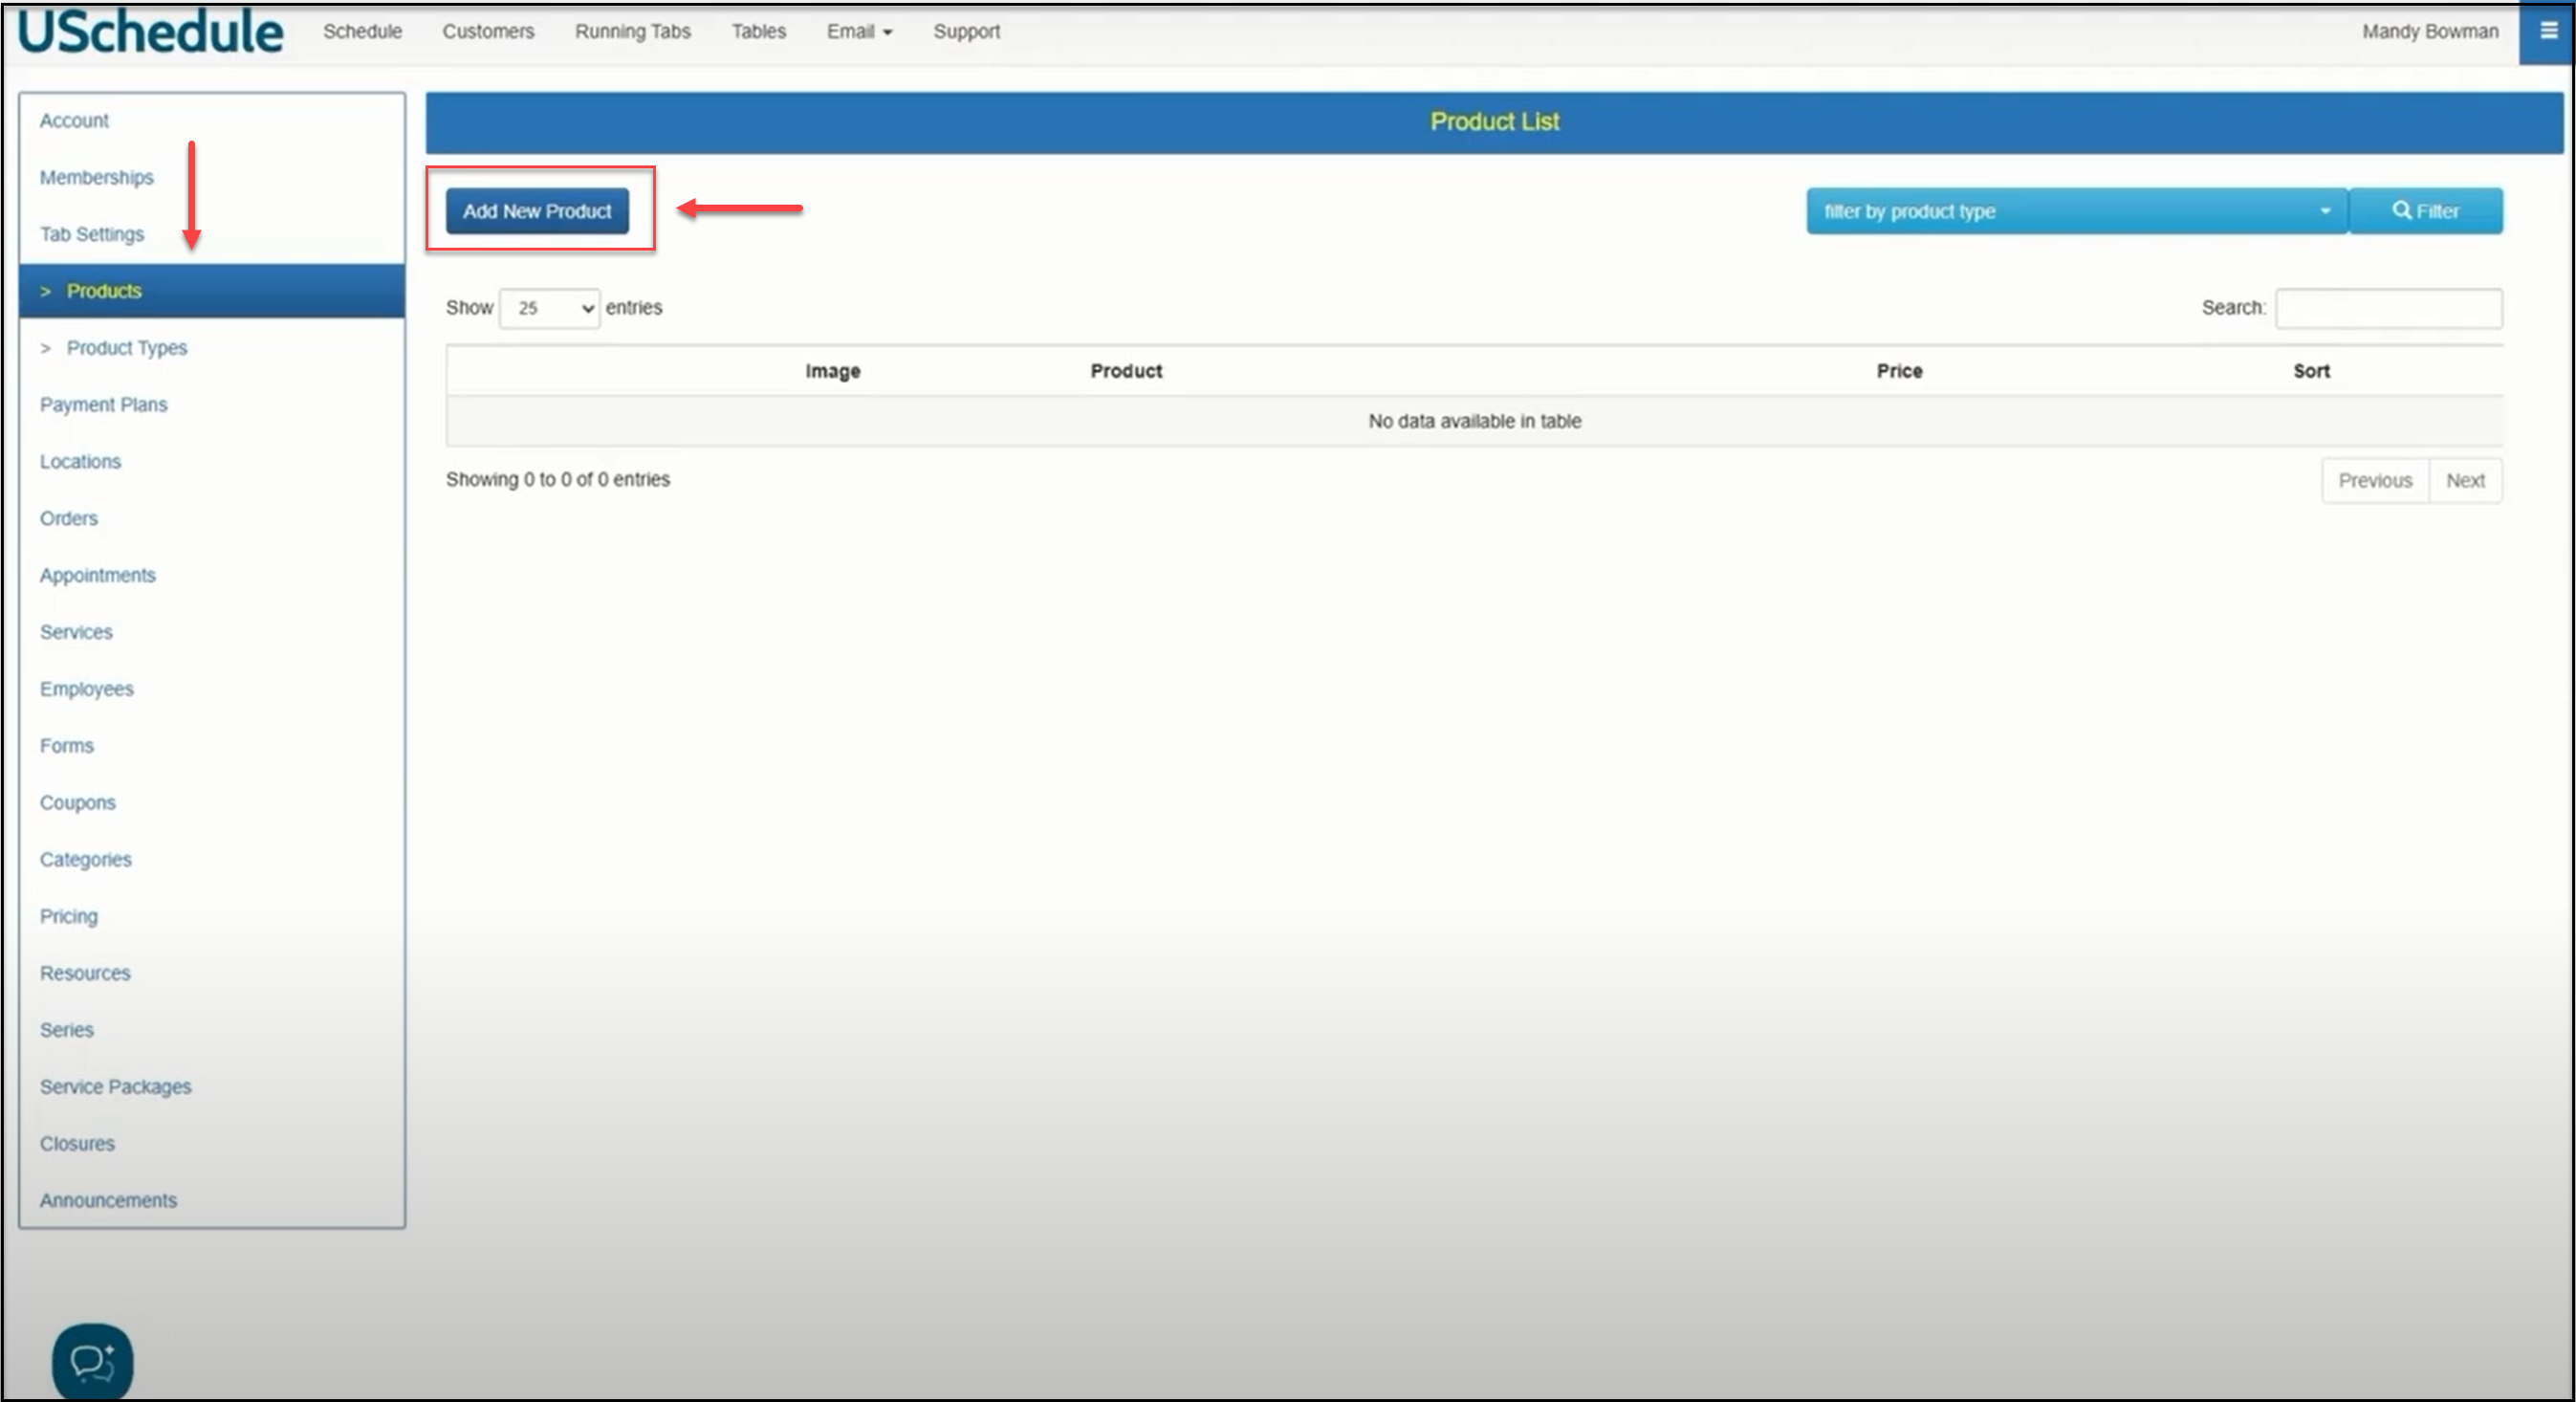
In your Settings menu, you will find the Products feature. Click the Add New button to start the process:
Enter a label for this Product and provide a Short Description and a Detailed Description. Click Choose file to upload an image of the product:
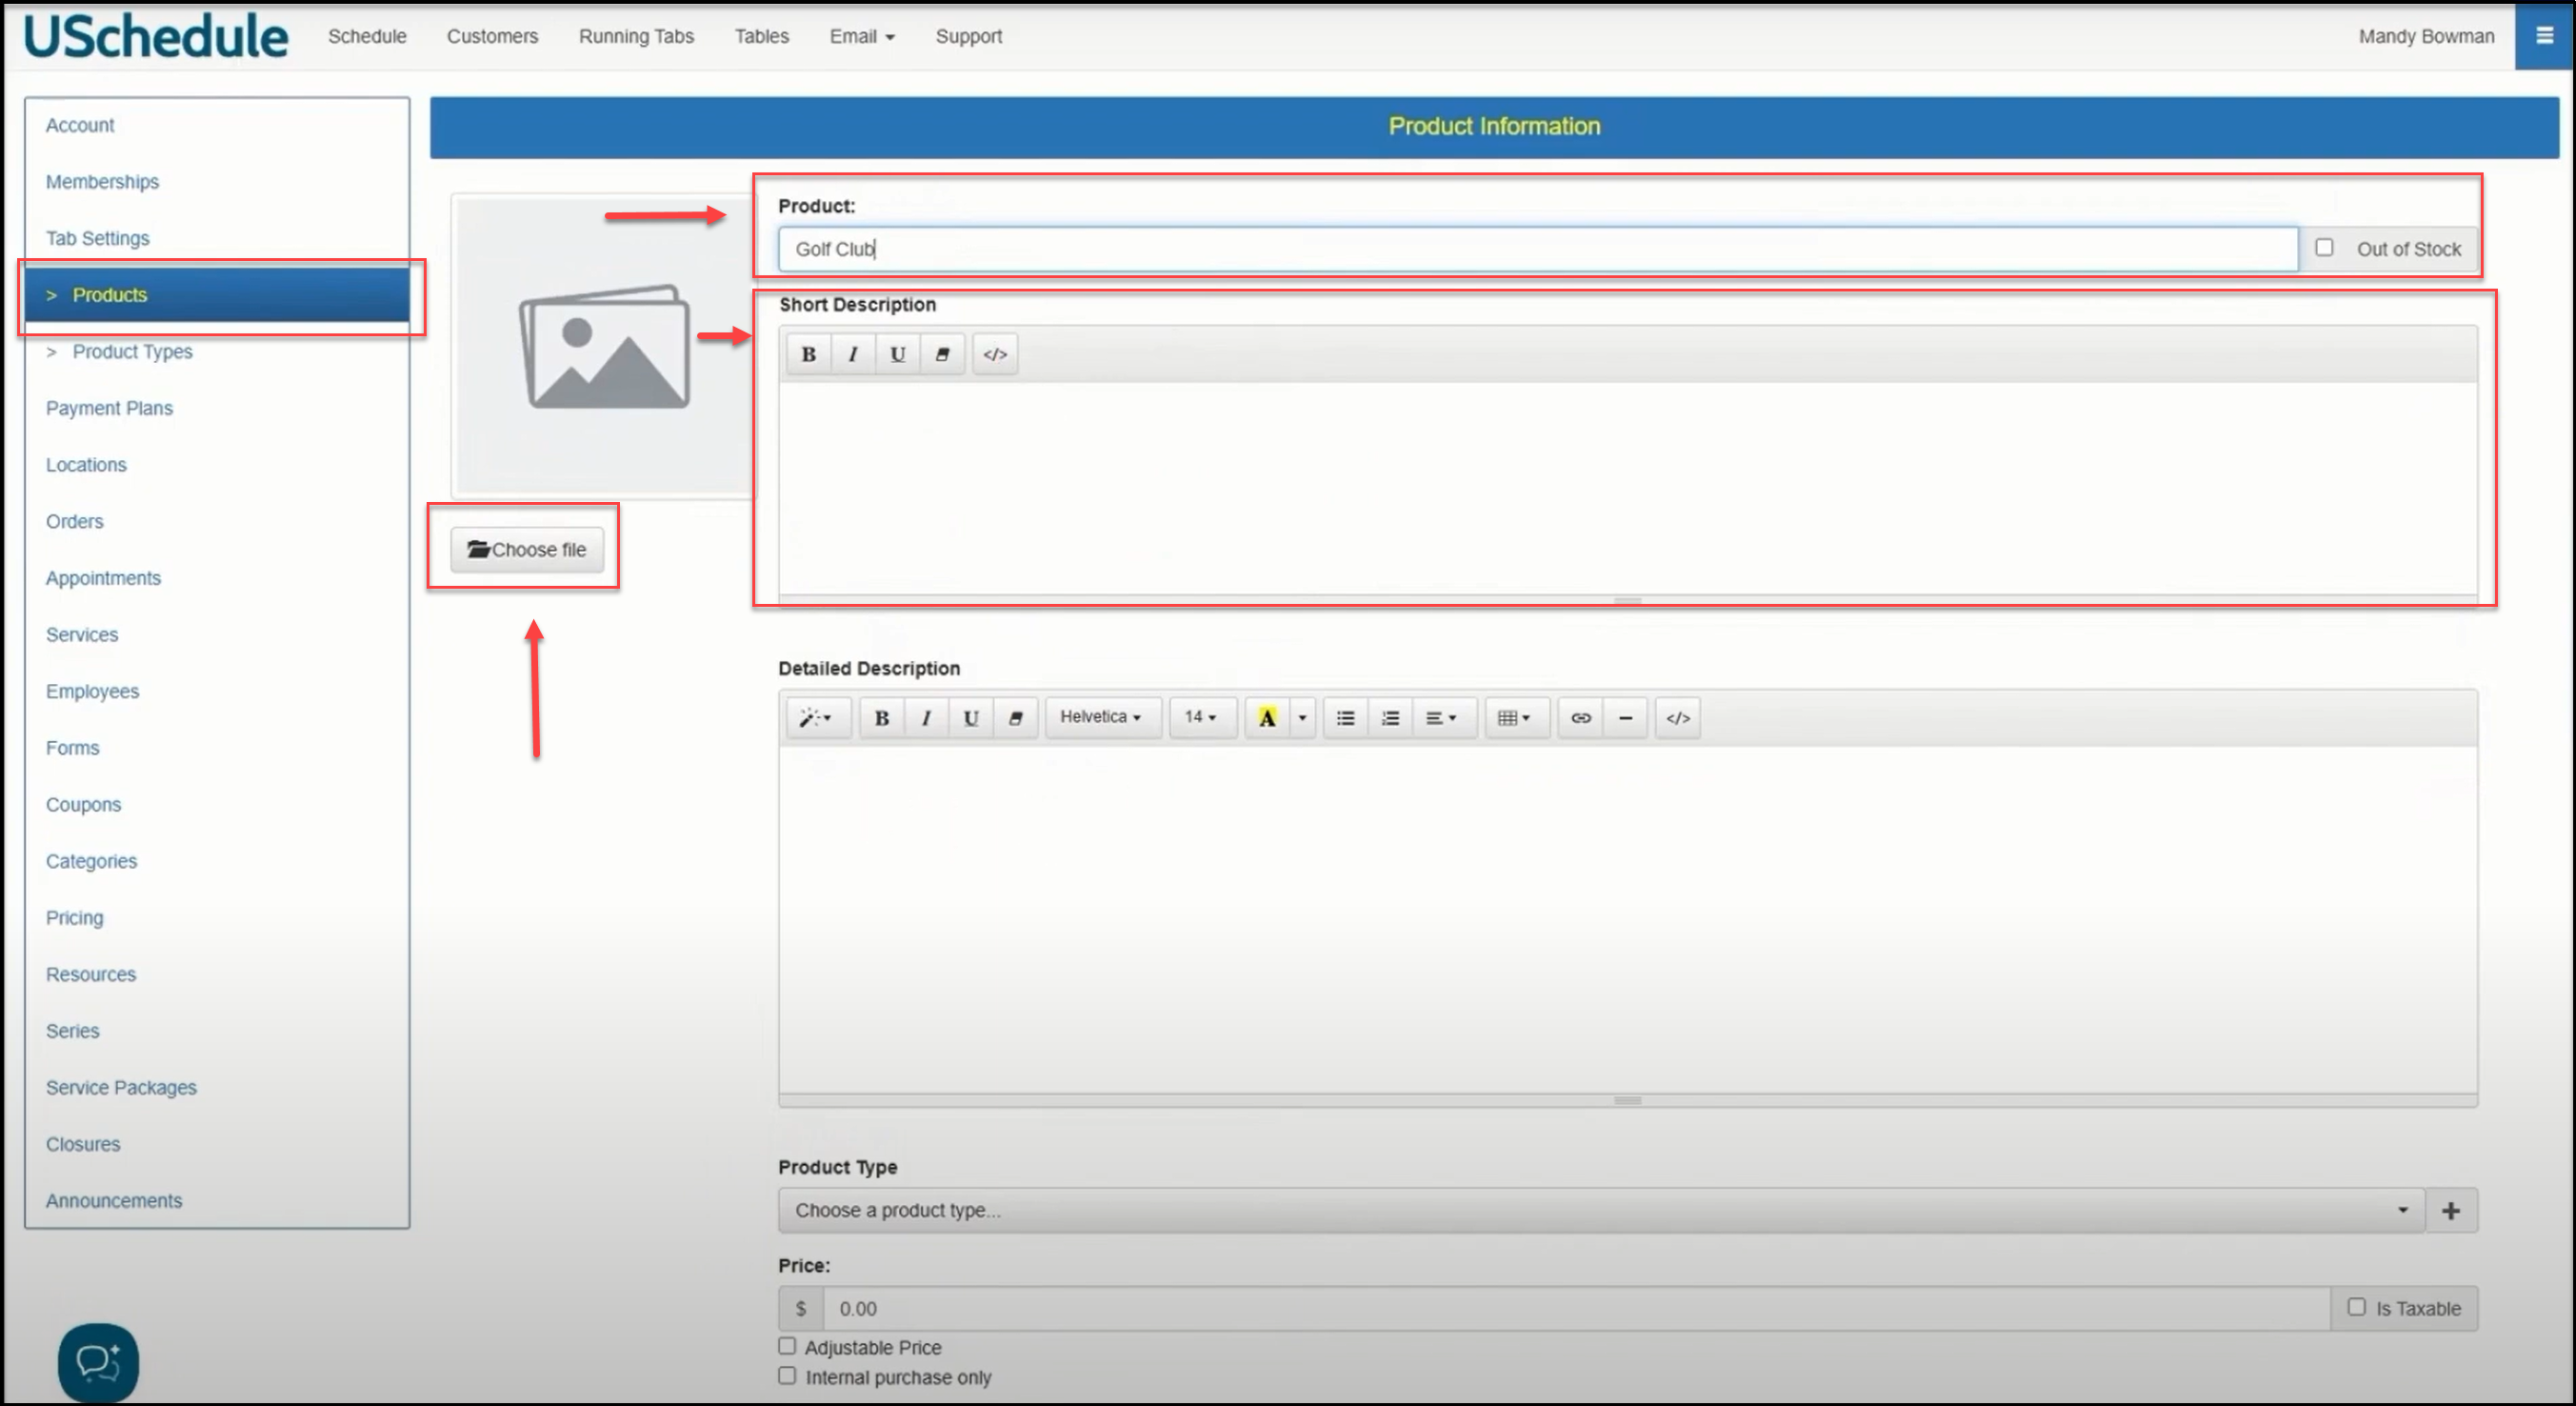
Clicking the Choose file button opens a search function on your computer so you can pull an image from your hard drive:

Choose an image to add it to the image holder for the product:
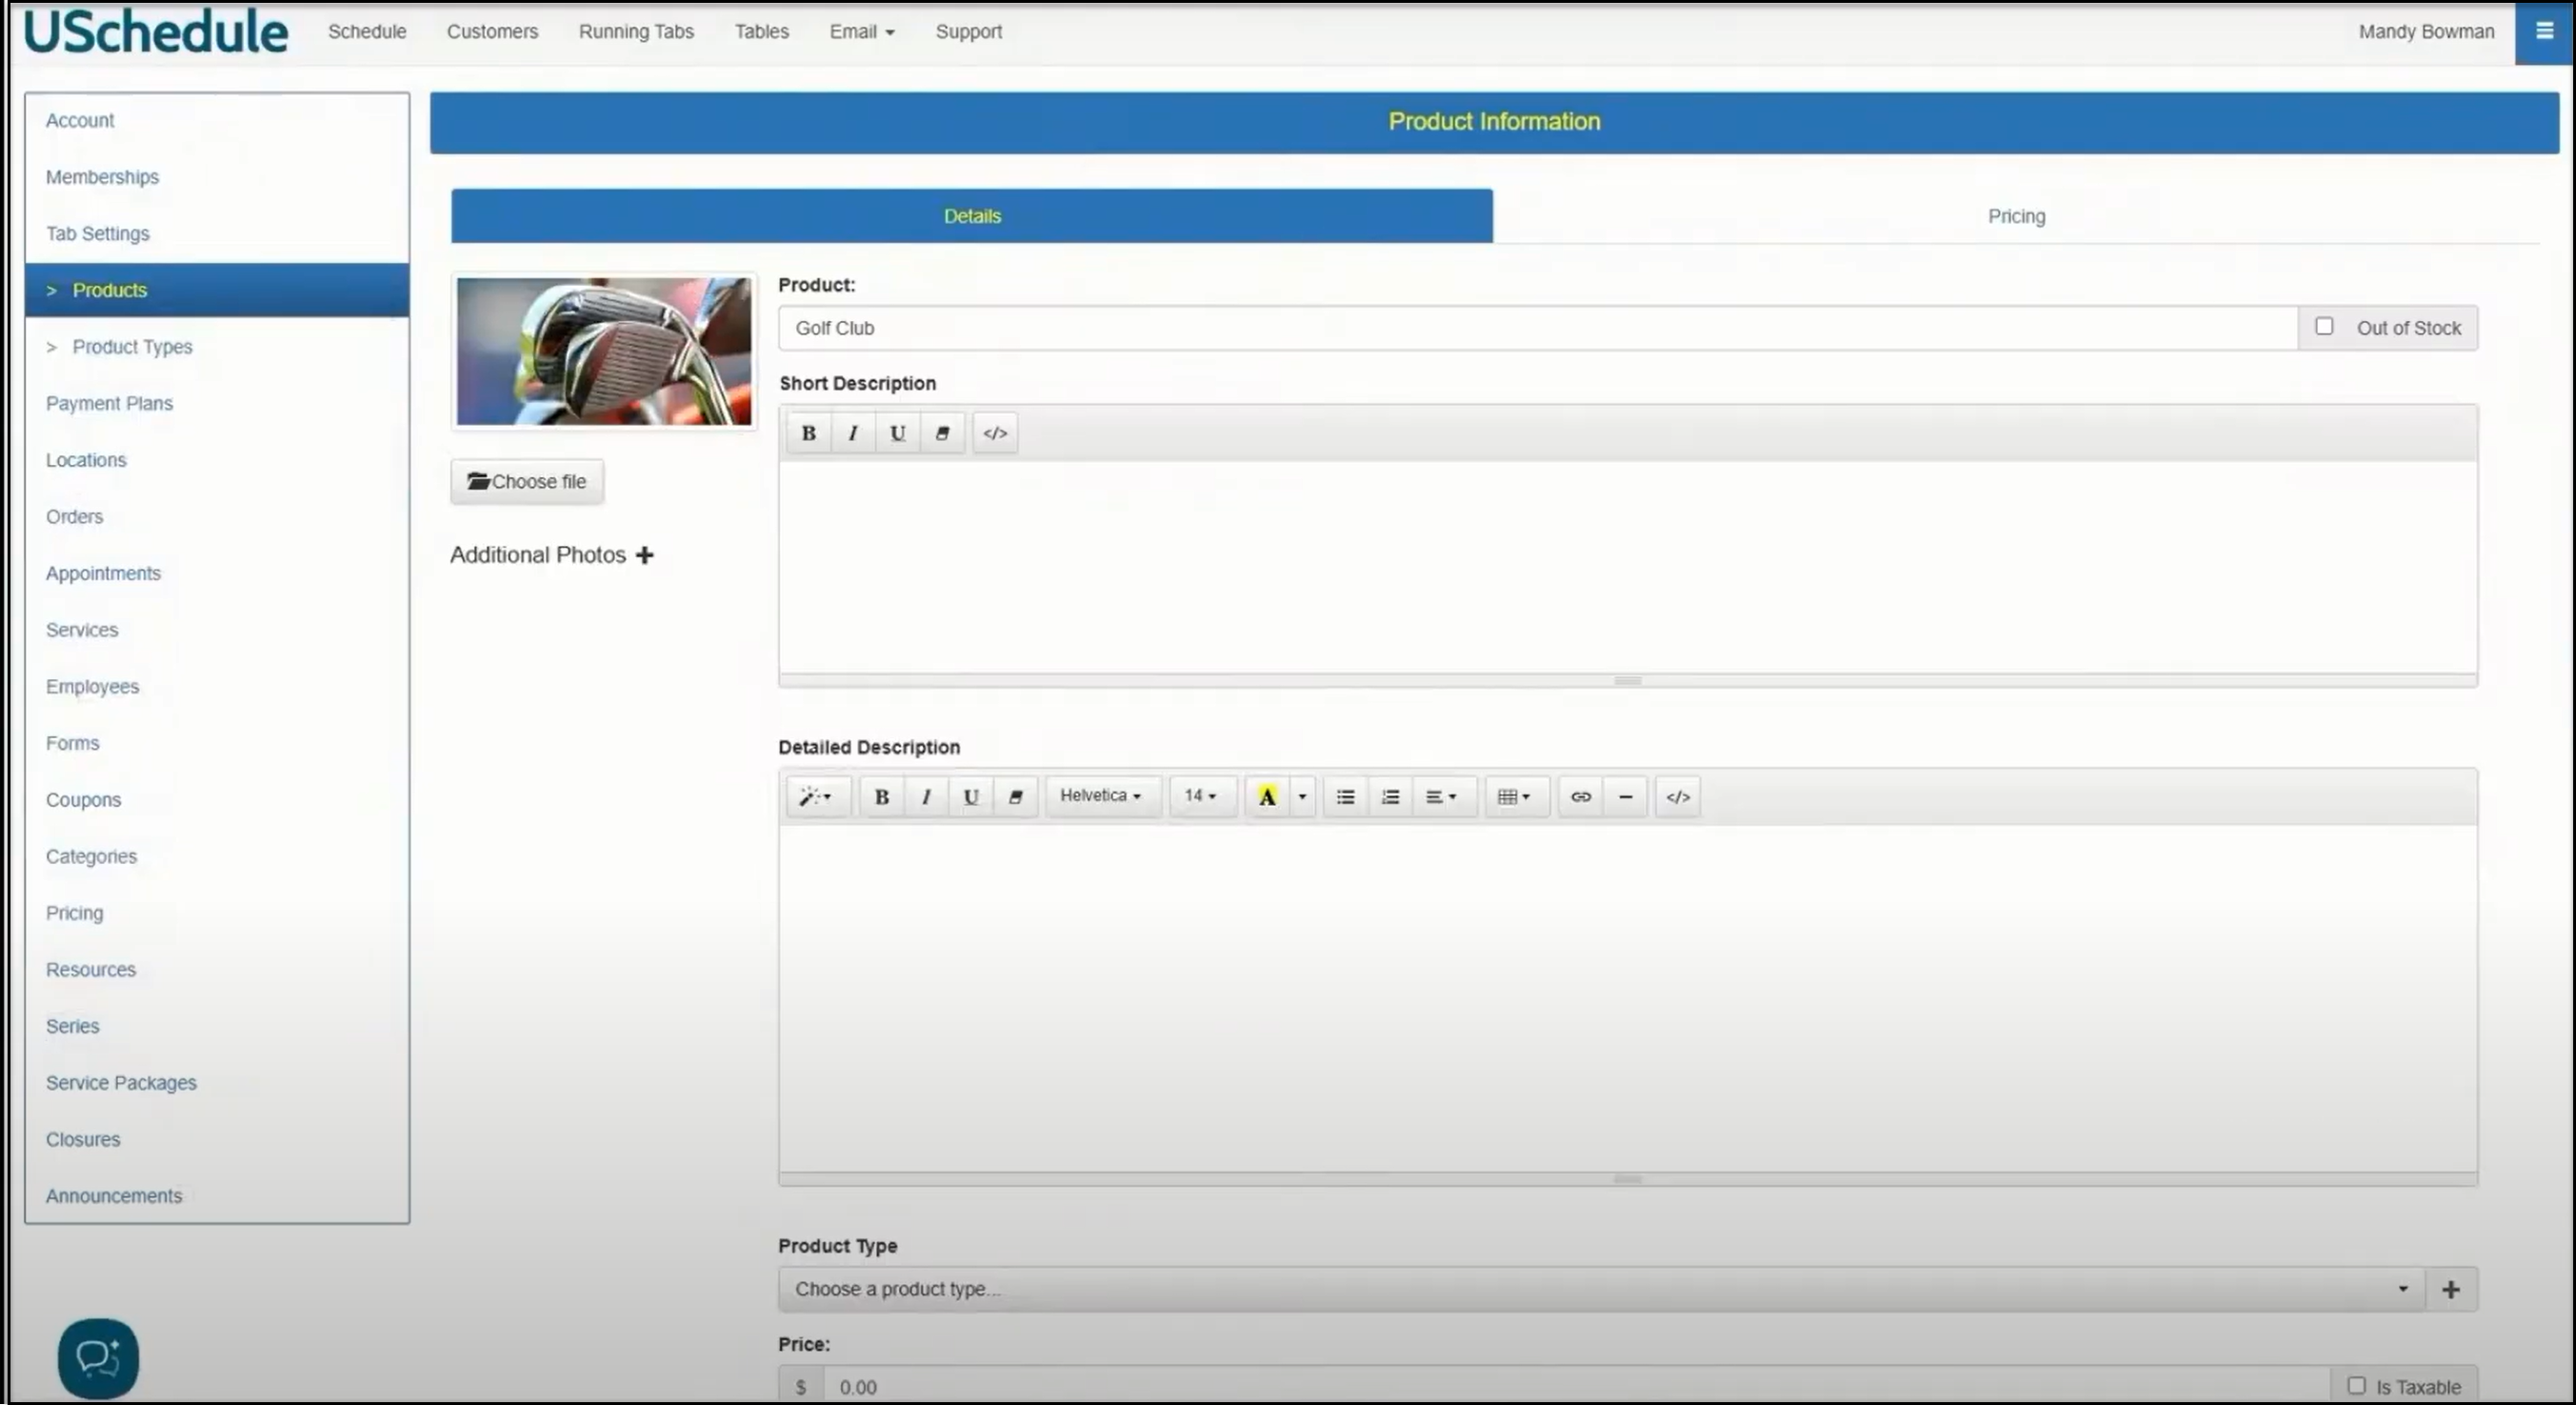
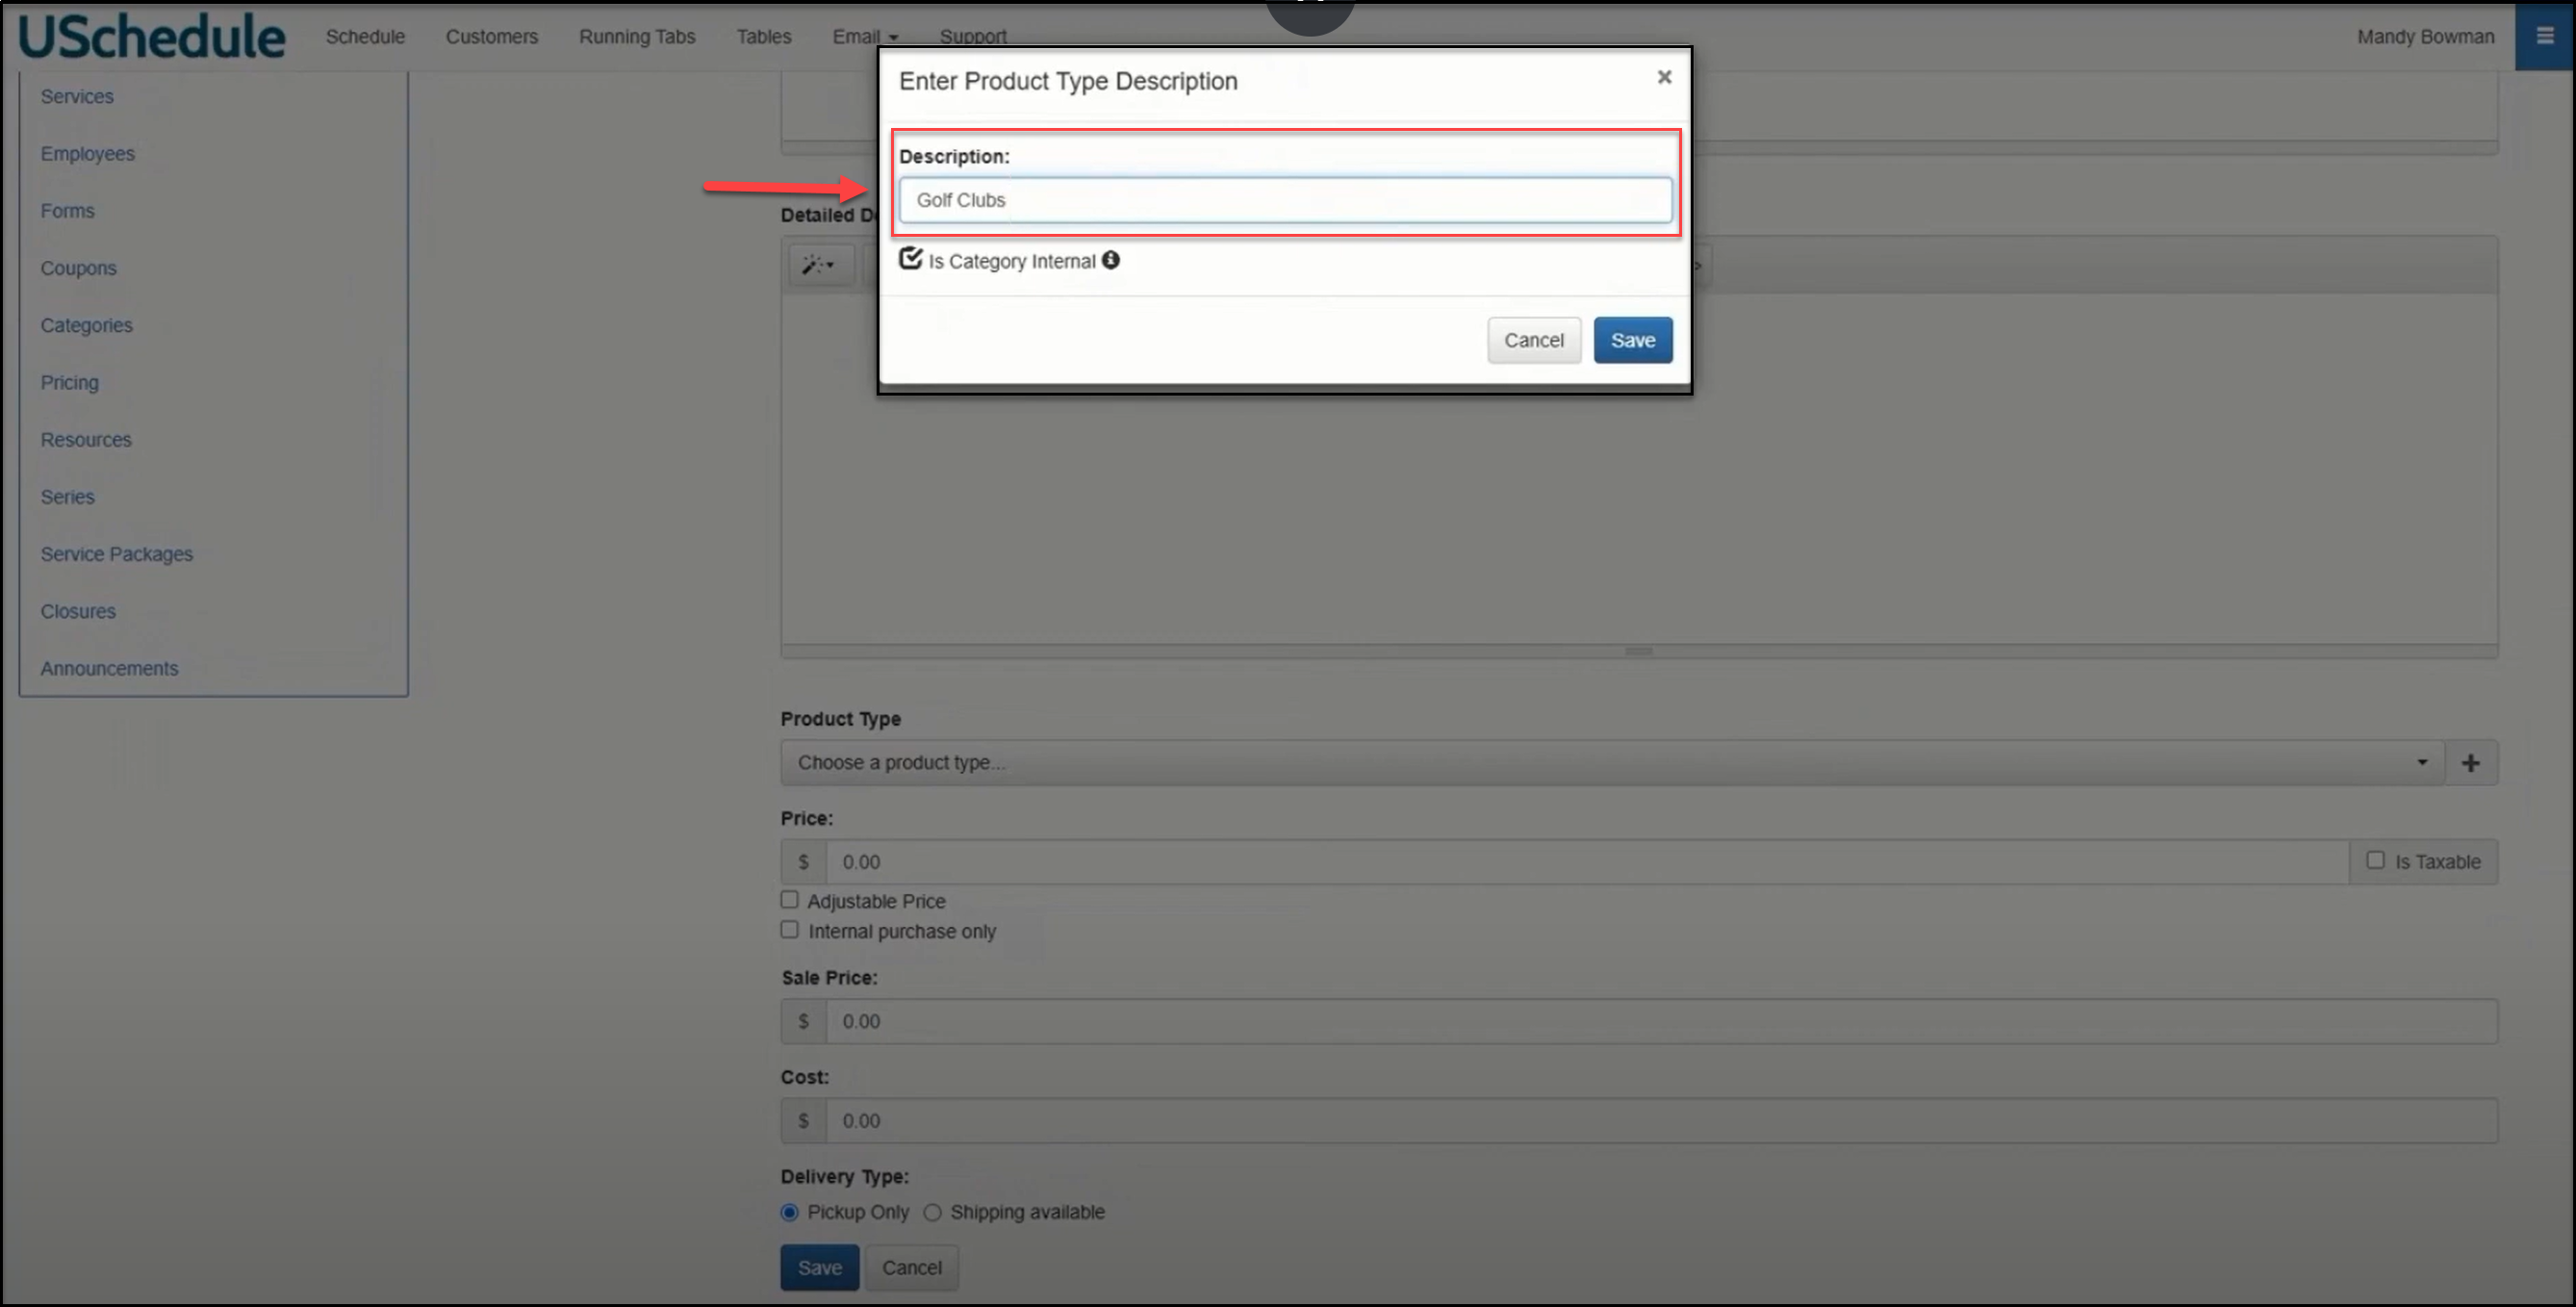
Scroll down the page to the Product Type option and click the plus button to create a new product type. If you would like the general public to be able to purchase this product online, uncheck the Is Category Internal check box. This will reveal the product to the public. Click Save.
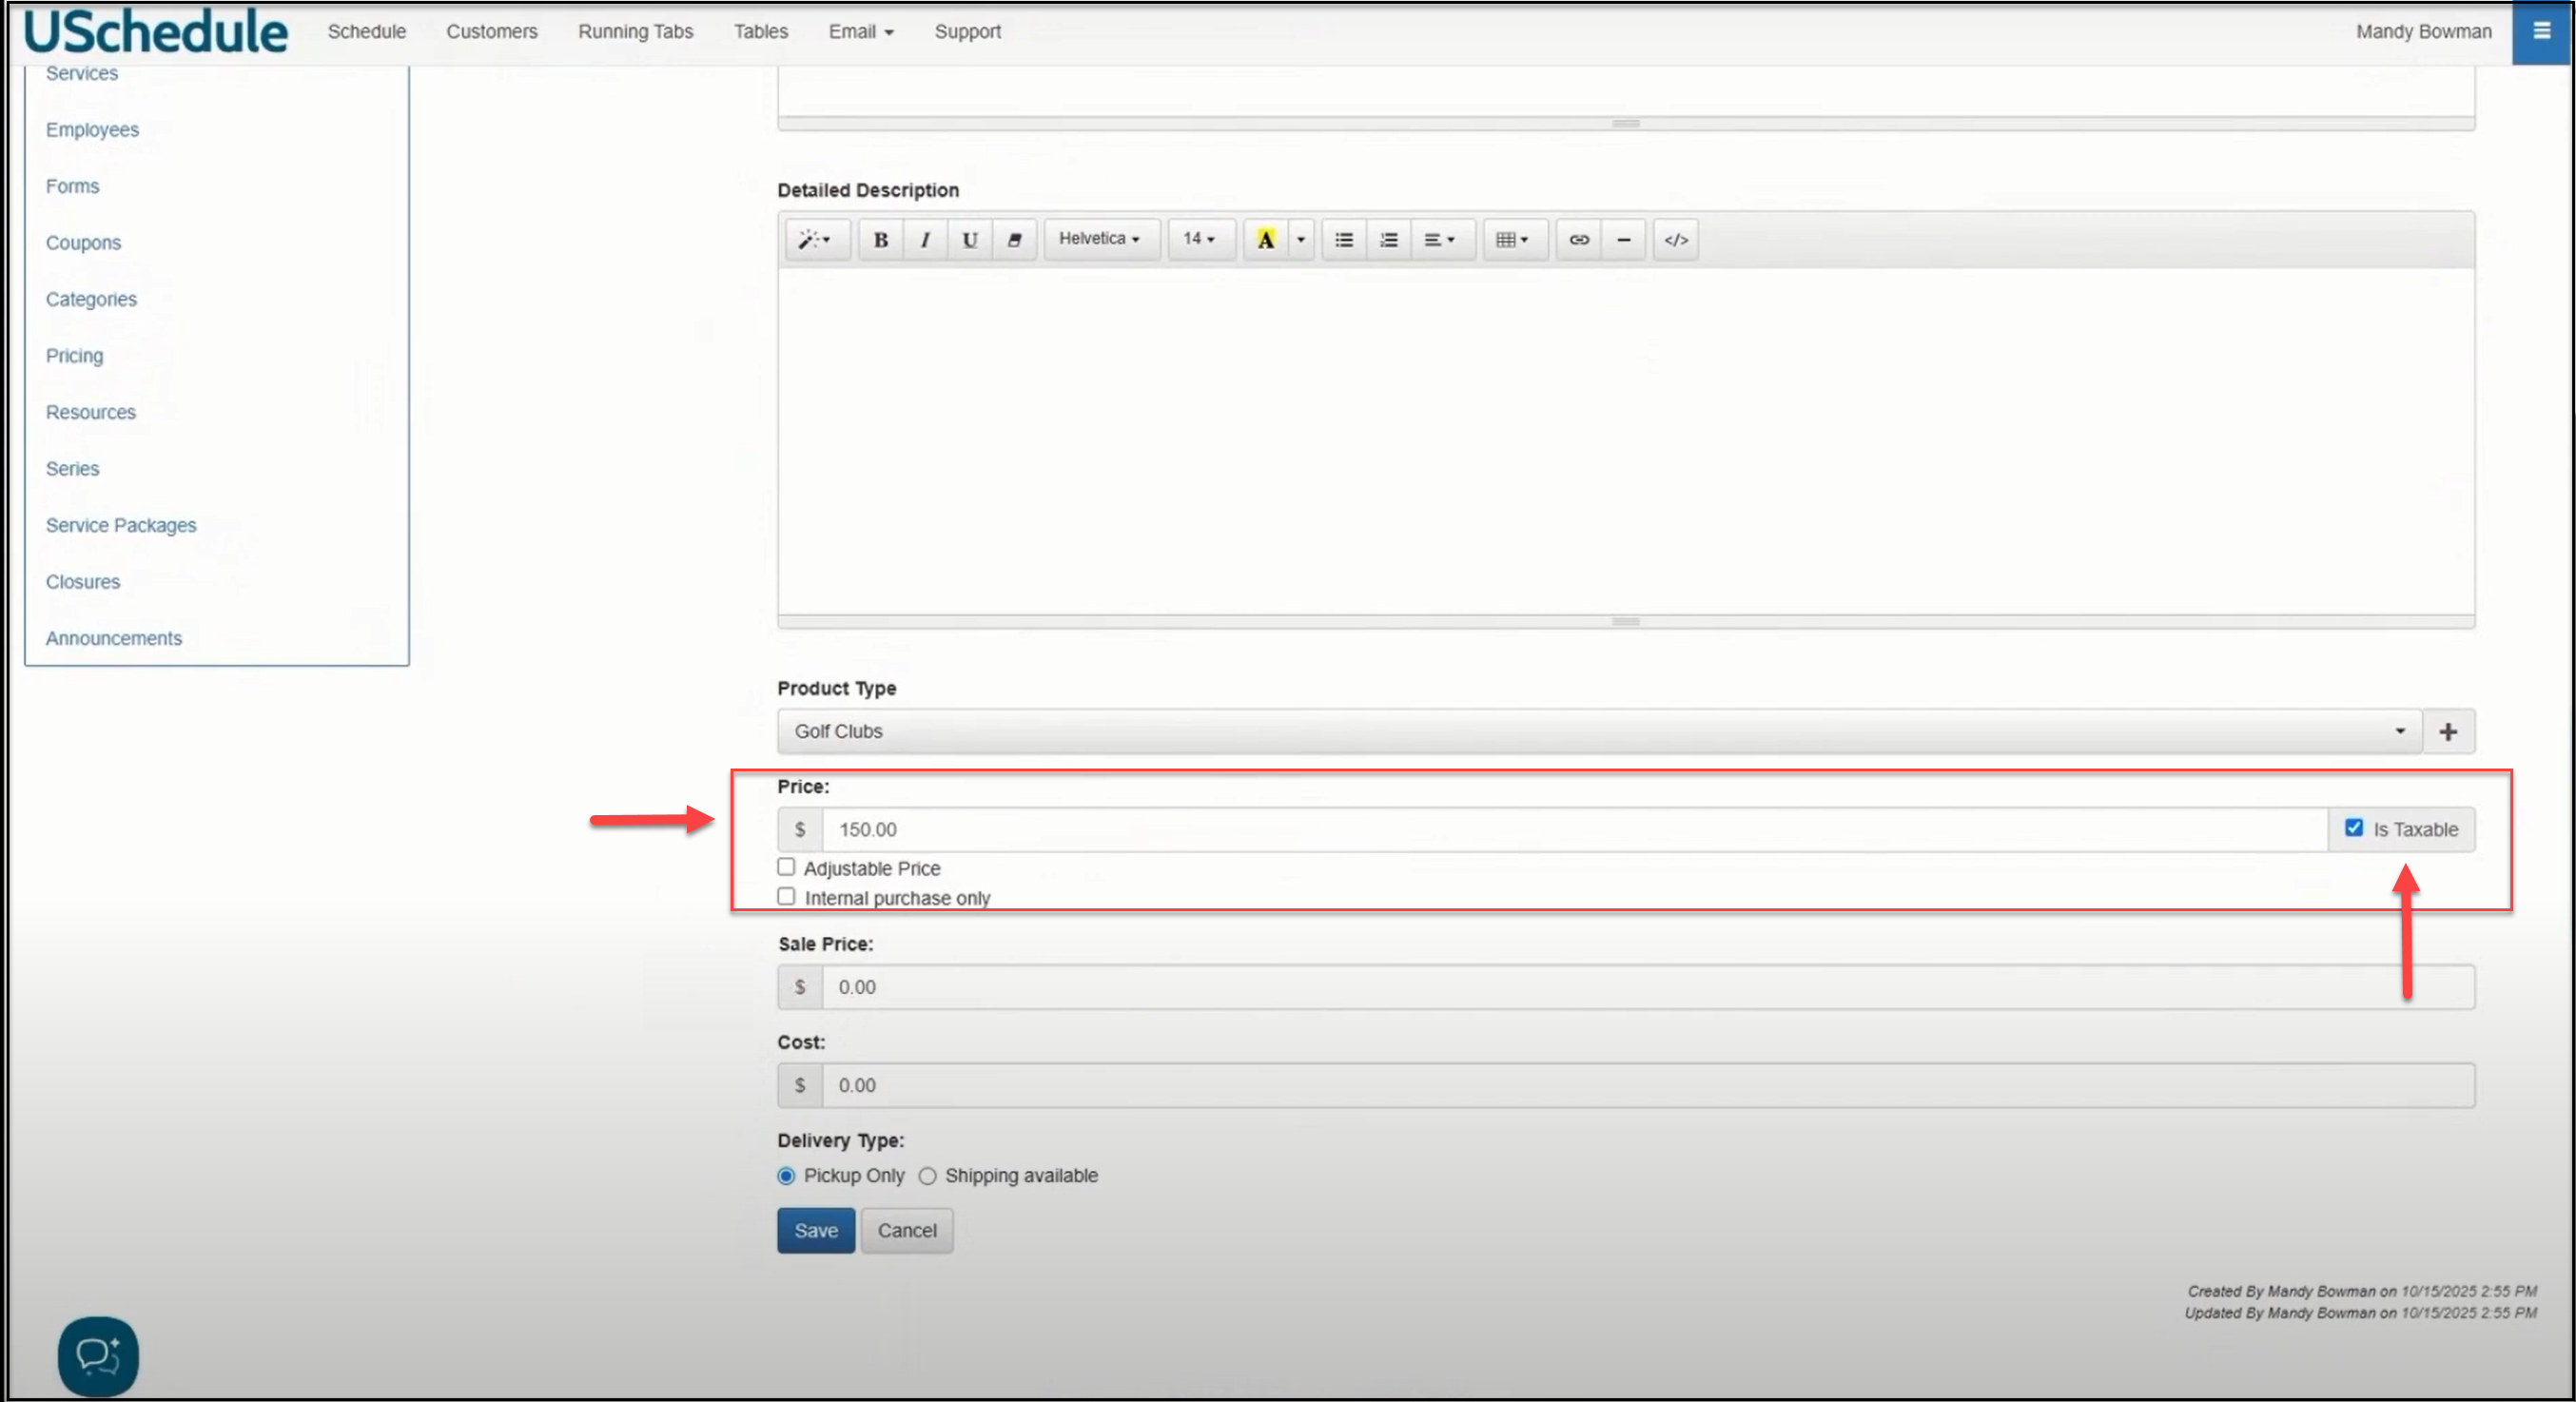
Next add a price for the new product. If you need to charge tax in the state where you are selling this product, check the Is Taxable box and that will pull in the tax rate from your Facilities page.
For something that you're selling with a fixed price, it is best to not use an Adjustable Price. If you would like the public to be able to buy the product, do not check Internal purchase only.
If you would like to put the product on sale at some point, you can add a Sale Price. You can also add the Cost that you pay for the product. There are delivery options to choose here as well. You can ship this product or you can require your customers to arrive at your location and pick the product up after purchase.
Click Save:

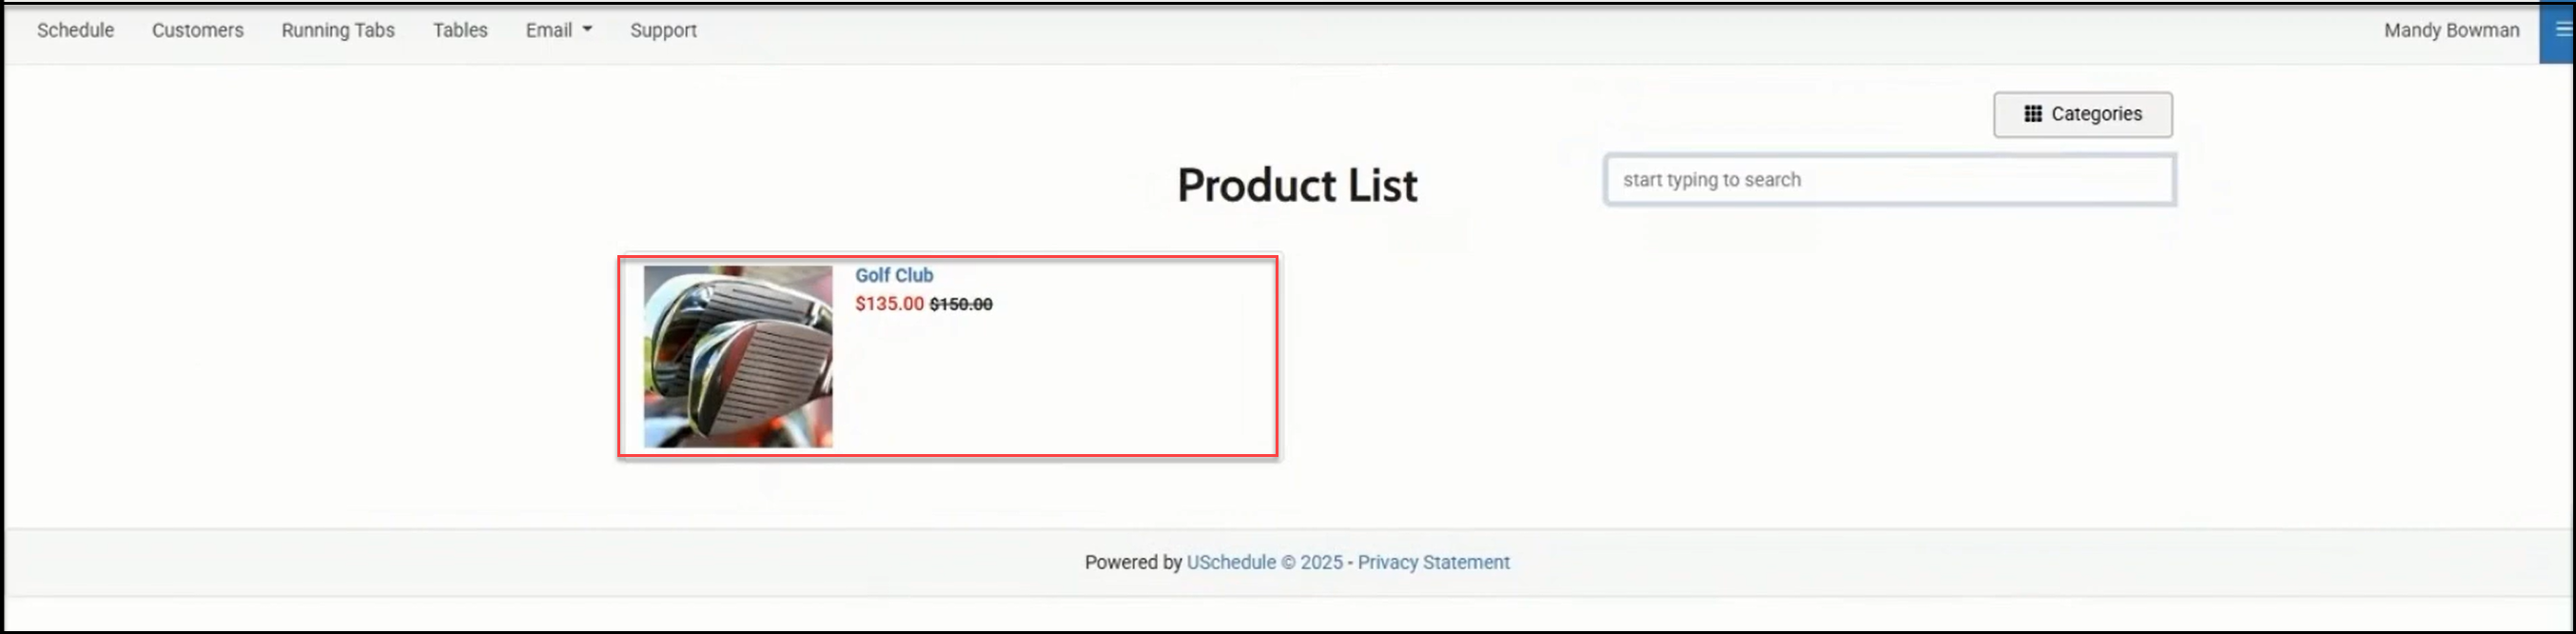
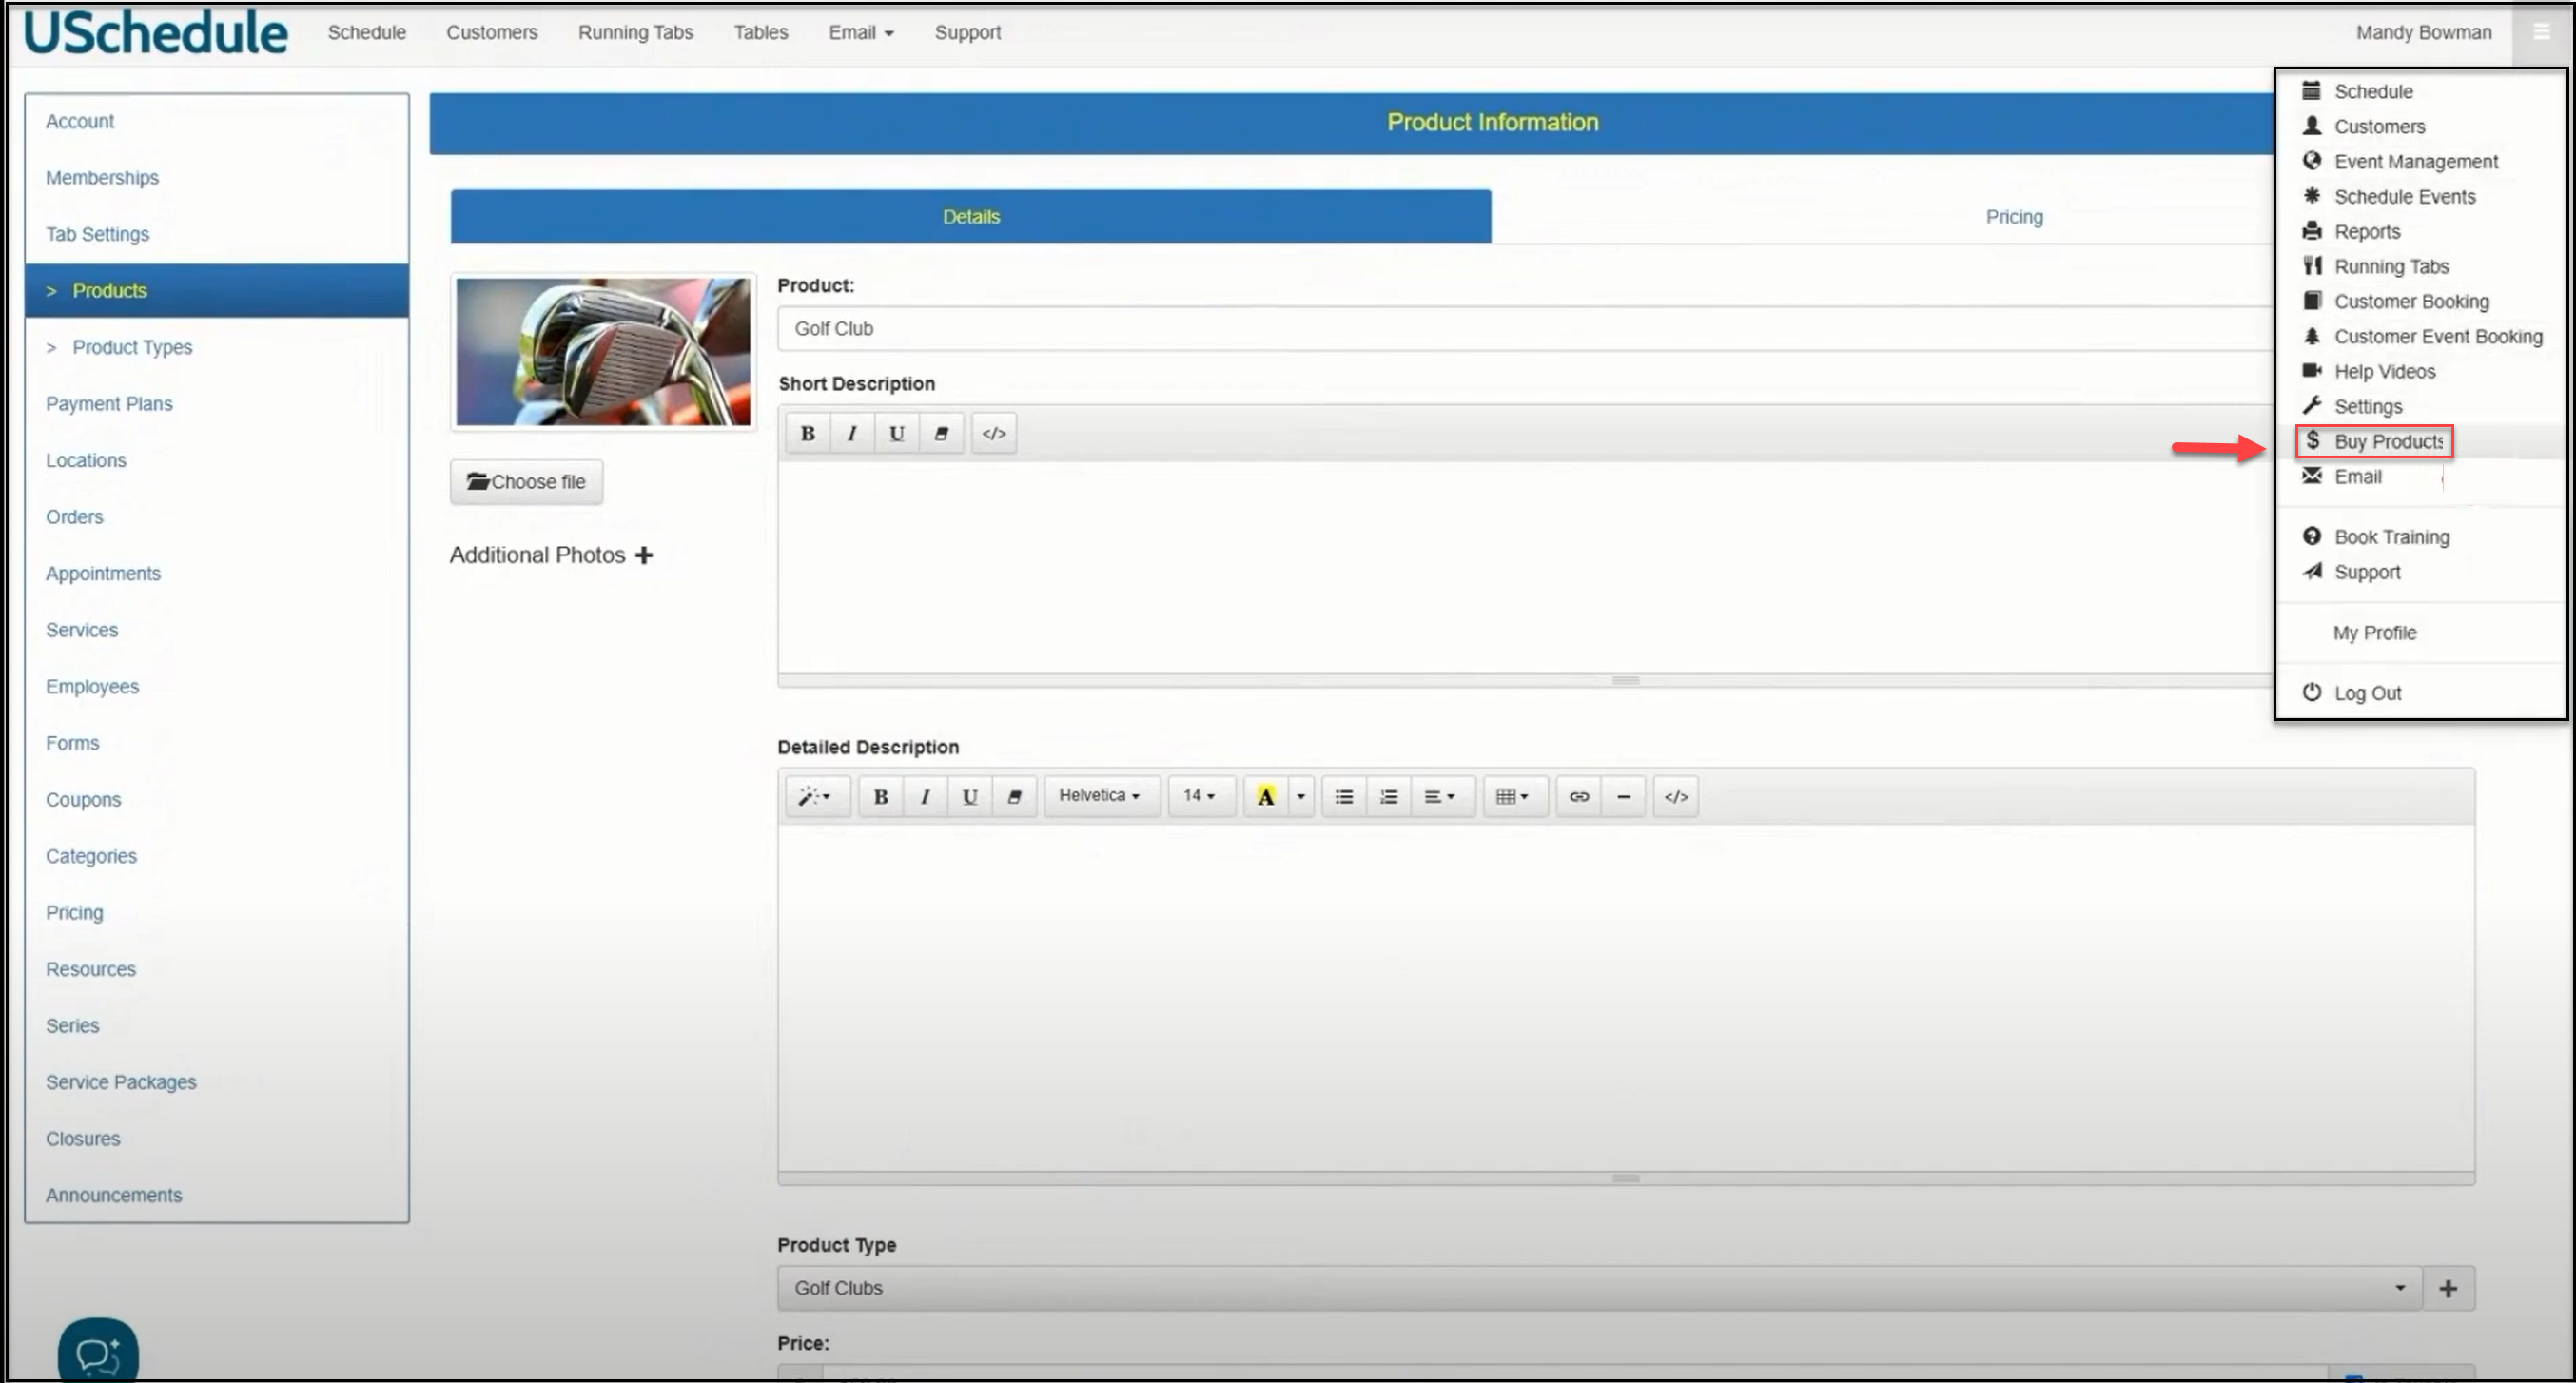
Your product is now ready to sell to your customers. Go to your Buy Products menu and you will see the product you just set up:
The product will show the original price and the sale price: